
This work is licensed under a Creative Commons Attribution-ShareAlike 4.0 International License.
About
Last Updated [07/17/2019]
Created by OSU Maps and Spatial Data
Table of Contents
- Introduction
- [Story Map Journal]
-
- Getting Started
-
- Creating the Journal
-
- Settings
-
- Finishing Up
- Conclusion
- Further Reading/Resources
Introduction
Story Maps are a relatively new and unique way of telling stories by using maps, images and videos. Esri offers many different Story Map templates that can be utilized for a multitude of projects and purposes.
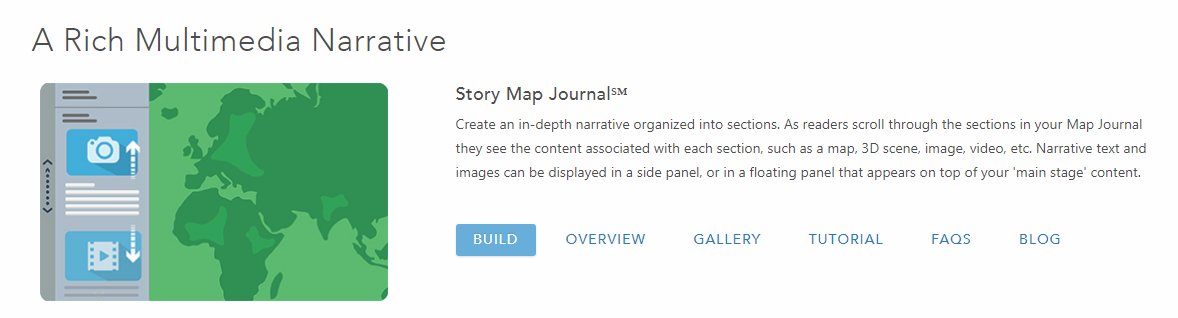
[Story Map Journal]
Story Map Cascade allows you to create an in-depth journal narrative which is organized into sections. This allows readers to scroll through these different sections of text and see the relavent content, such as maps, images, videos, etc.
Getting Started
- In order to locate the older story map templates, visit this website.
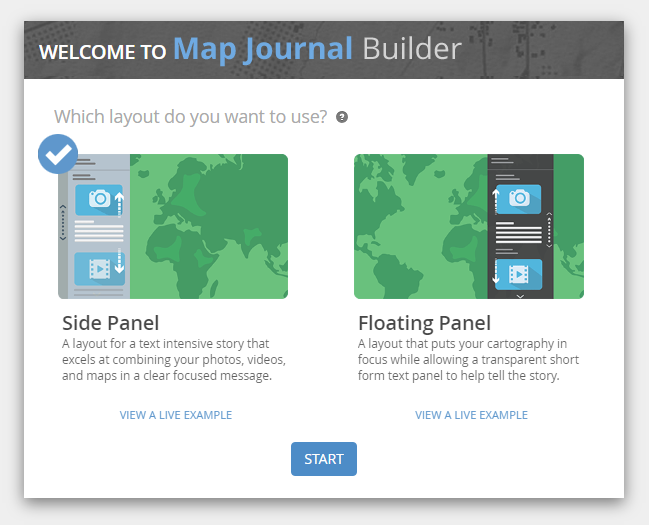
- Locate the Story Map Journal and select Build.
- A new window will open and you will be able to choose between a Side Panel or a Floating Panel. You can view live examples of both and choose the one you desire. For this guide, we will be using Side Panel. Click Start.
Creating the Journal
- Enter a title for your Map Journal and click the blue arrow.
![]()
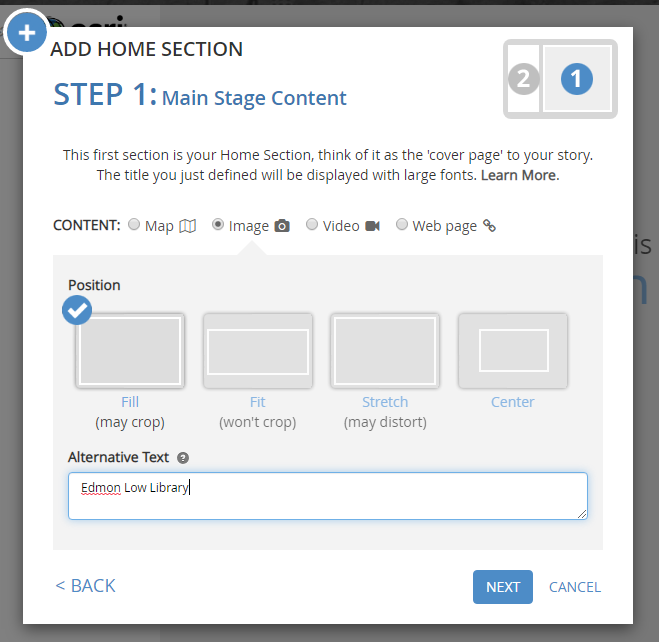
- Format the Home Section. The first step is choosing what you want the cover page to be. We will be using an image, but you can use any of the Content options. When you have added the desired content, click Next.
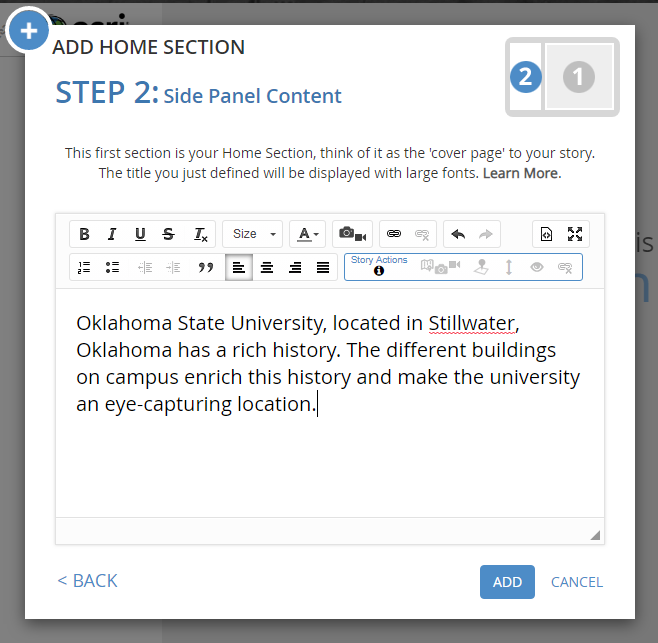
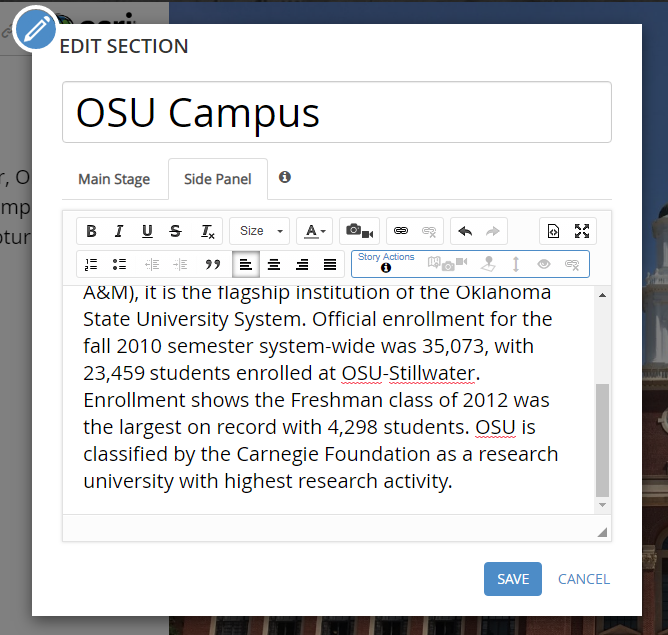
- Add the desired content in the Side Panel section and click Add.
- If you wish to change the section, click on the blue circle with a the pencil icon.

- Update everything as desired and click Save.
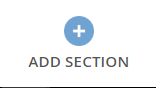
- To add a section click Add Section at the bottom of the side panel.
-
Repeat steps 2-3 for each section you wish to add.
-
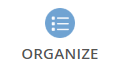
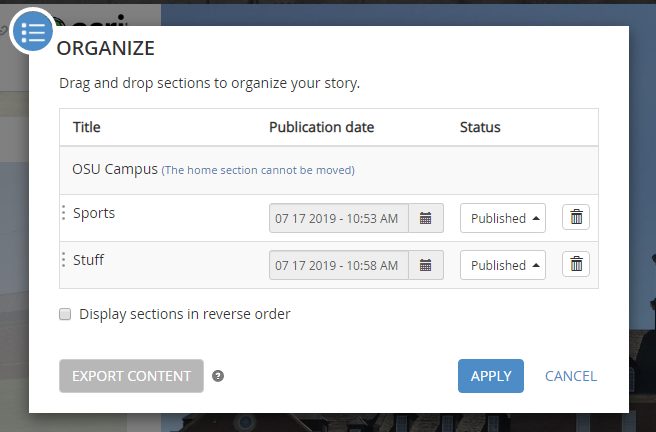
To reorganize the sections that have already been created, click Organize, drag and drop the sections where you would like them and click Apply.
Settings
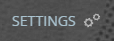
- To further alter the appearance of the Story Map Journal, click Settings.
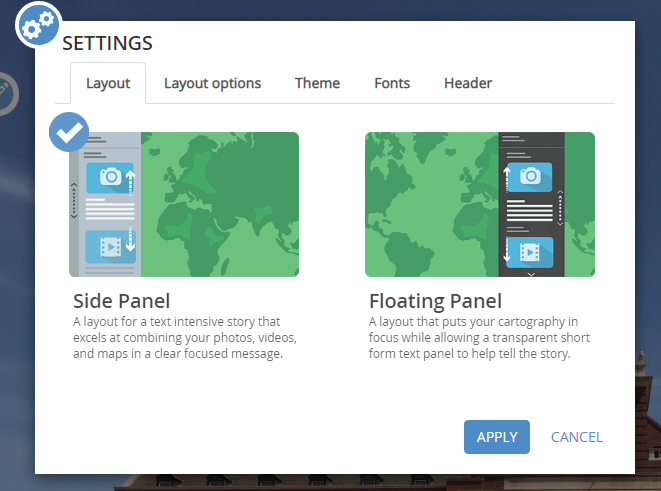
- Under the Layout tab, you can change the type of panel.
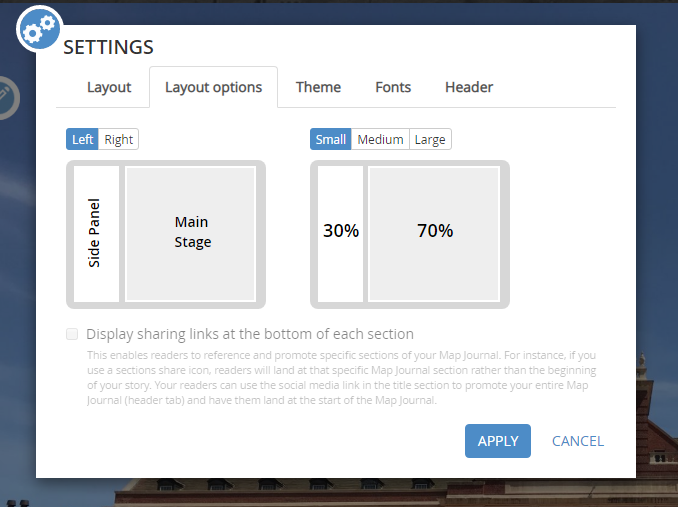
- Under Layout options, you can change where the side panel is positioned and how wide it is.
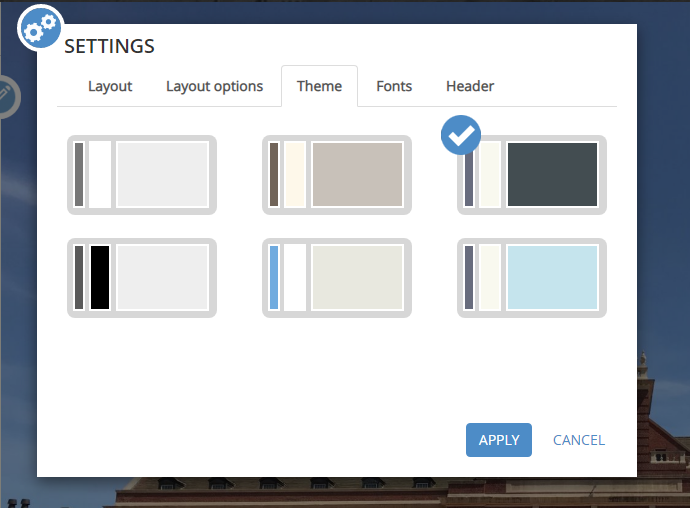
- Theme lets you choose from a variety of color schemes.
- Font allows you to change the fonts.
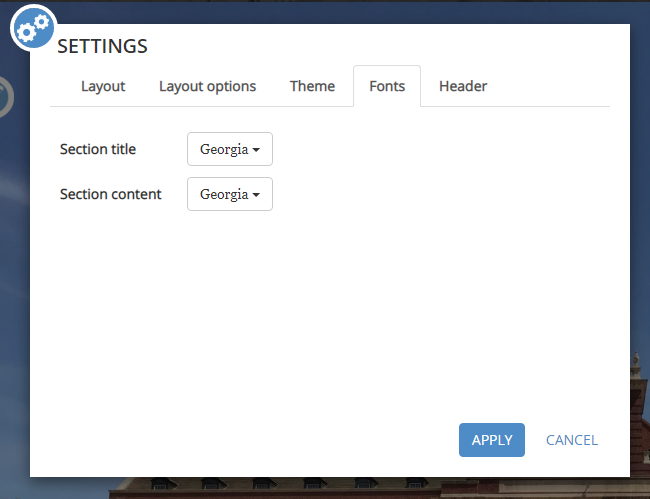
- Finally, Header lets you change things found in the header, such as the logo, link, and tagline.

- When you are finished, click Apply.
Finishing Up
- Be sure to save your project often. Click Save in the upper right hand corner of the screen.

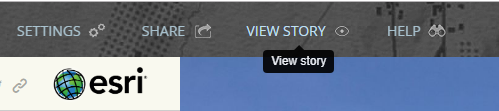
- To check out the story as a reader before sharing it, click View Story. This opens a new tab where you can explore the story.
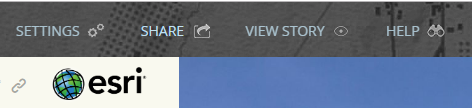
- Finally, to share the story, click Share.
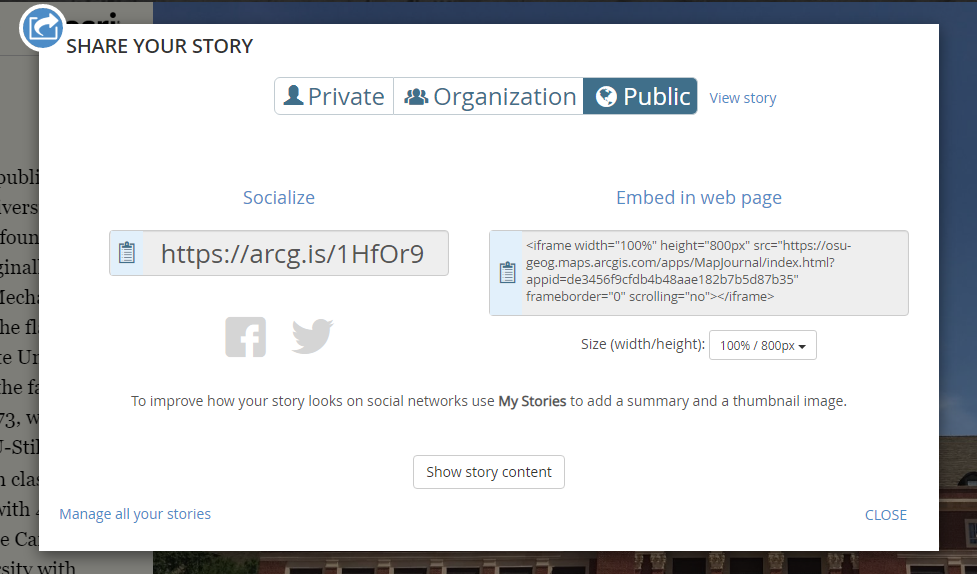
- Choose how you would like to share the story and click CLOSE.
Conclusion
Story Map Journal is a great choice for when a lot of narrative is need and there are accompanying media files or maps to add more detail and make it more interesting.