Creative Commons License
This work is licensed under a Creative Commons Attribution-ShareAlike 4.0 International License.

About

Last Updated [add date here]
Created by OSU Maps and Spatial Data

Table of Contents

Introduction

[delicious content]

Getting Started

  1. To set up our website, we must first open a new code project. For this example I will be using Visual Studio Code.
  2. In the first line, be sure to specify this project is and HTML project by using DOCTYPE html.
      <!DOCTYPE html>
    
  3. Next we will add a few tags. Be sure to include an html, head, style and body tag. This is a basic skeleton of a webpage. ```html
4. If you open the project with a live server, you will see a blank page. We will add some content to make it a bit more interesting.

#### Adding Content
1. Let's start off by adding a header to the page. To do this, make sure that you are working within the *body* tag, which will contain all of the website's text. The tag for a header is *h1*. Within this tag, type what you want the header to be. 
  ```html
    <body>
      <h1>Title</h1>
    </body>
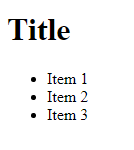
  1. Be sure to save and check the live browser. You should now see your title. Don’t worry if you don’t like the appearance. We will go over how to format the website later.

Title

  1. Next, let’s add a table of contents. For this, we will use the ul, or unordered list, tag. For each item within the list, add a li or list item tag.
     <ul>
       <li>Item 1</li>
       <li>Item 2</li>
       <li>Item 3</li>
     </ul>
    

Unordered List

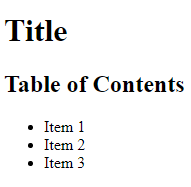
  1. We should probably let people know that the list we just created is a table of contents and not just a random list. Let’s add a header for it! Since we have already used the h1 tag for our webpage’s title, we will use the h2 tag. Add it right above the list we created before.
     <h2>Table of Contents</h2>
    

Table of Contents

  1. Let’s add some actual information to the page. To do this, let’s start by adding the different sections we would like to include. For this example, I will keep using the h2 tag, but you can change the heading size by using h1 to h6 to denote the degree of importance of each section. Name the sections according to the names you gave them in the Table of Contents.
    <h2>Item 1</h2>
    <h2>Item 2</h2>
    <h2>Item 3</h2>

    

![Items[(images/Item.PNG)

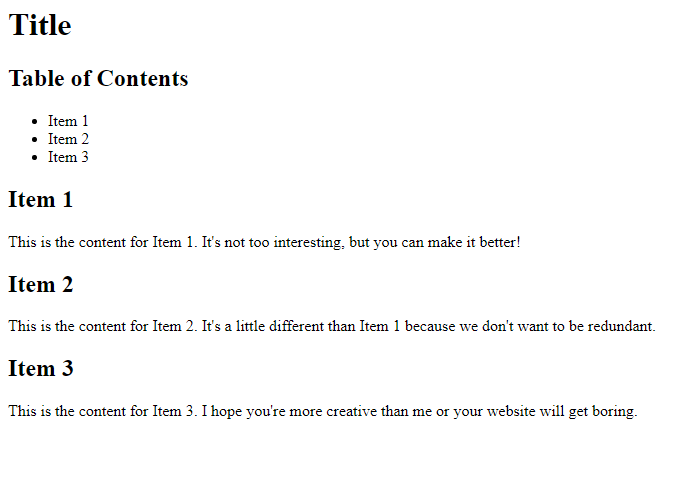
  1. To add text for each section use the p, or paragraph, tag. Add whatever text you please for each section.
     <h2>Item 1</h2>
        <p>This is the content for Item 1. It's not too interesting, but you can make it better!</p>
     <h2>Item 2</h2>
        <p>This is the content for Item 2. It's a little different than Item 1 because we don't want to be redundant.</p>
     <h2>Item 3</h2>
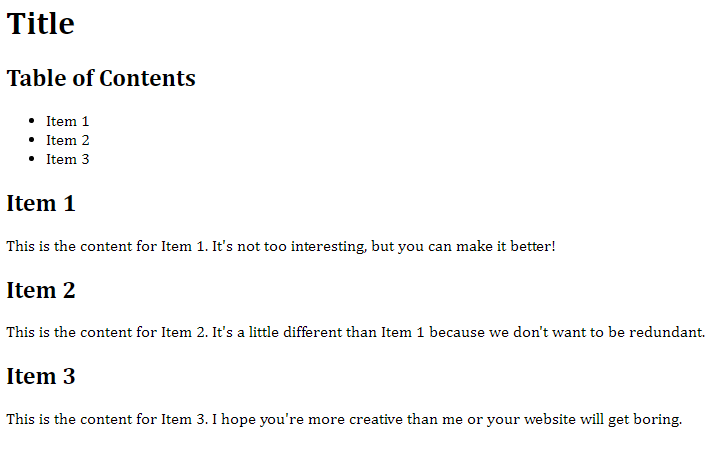
        <p>This is the content for Item 3. I hope you're more creative than me or your website will get boring.</p>
    

Item Content

Using the Table of Contents to Navigate

The table of contents can be used to navigate to different sections within your webpage.

  1. The first step for navigation is to add a unique ID to each section title.
     <h2 id=first>Item 1</h2>
       <p>This is the content for Item 1. It's not too interesting, but you can make it better!</p>
     <h2 id=second>Item 2</h2>
       <p>This is the content for Item 2. It's a little different than Item 1 because we don't want to be redundant.</p>
     <h2 id=third>Item 3</h2>
       <p>This is the content for Item 3. I hope you're more creative than me or your website will get boring.</p>
    
  2. Next we will make it so that when a user clicks on an item it will take them to that section on the page. We will use an a tag along with href to do this. Within the li tags of each Table of Contents item, add the a tags. The href= will be set to the IDs we just created.
     <ul>
       <li><a href=#first>Item 1</a></li>
       <li><a href=#second>Item 2</a></li>
       <li><a href=#third>Item 3</a></li>
     </ul>
    
  3. Go in to the live view and try one out! They should appear as links. Note that if you do not have much content on your page, it may not seem like it’s navigating. Try adding more content if this is the case.

Links

Adding Flare with CSS

Now that we have the content for our website, we should make it more visually pleasing. To do so, we will be working within the style tag.

  1. Let’s stylize the main header first. In the style tag, type h1 {}. Within the curly brackets is where we will add our style elements.
     body {}
    
  2. Let’s choose a font to use for the body of our webpage by using font-family:. You can choose different fonts than what I use and if you have trouble understanding what fonts to choose, the answer is just one Google search away!
     body {
     font-family:Cambria, Cochin, Georgia, Times, 'Times New Roman', serif
      }
    

Font Change

  1. Now we’ll create a really cool header for our webpage! Just add an h1 section to the style tag like we did for the body. We should change the color of the text, the text alignment and font size. While we’re at it, we might as well add a background color too!
     h1 {
       color: rgb(52, 234, 247);
       text-align: center;
       font-size: 50px;
       background-color: rgb(185, 72, 116);
     }
    

Title Style

  1. While this looks cool, it’s not exactly what I want. I imagined the header would be thicker. To creater a thicker header, just add some padding! That’s much better!
     h1 {
       color: rgb(52, 234, 247);
       text-align: center;
       font-size: 50px;
       background-color: rgb(185, 72, 116);
       padding: 50px;
     }
    

    Thick Header

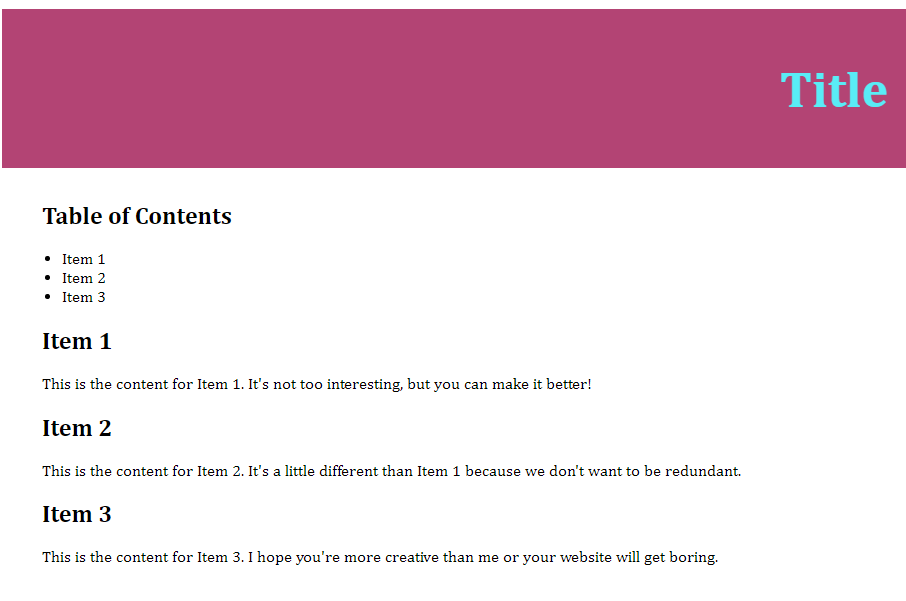
  2. Now, there’s another thing I really don’t like about this webpage. Notice how the content is right against the left edge of the screen? This doesn’t make for the best readability. We can add padding here as well, but we have to specify that we only want padding on the left side of the page. Play around with it until you find the padding that’s right for you and your page!
     h2 {  
       padding-left: 40px;
     }
     p {
       padding-left: 40px;
     }
     ul {
       padding-left: 60px;
     }
    

Padding

  1. I’m really enjoying our website so far, but I think it needs more color! What if we made the background the same color as the title’s text? To do this, we’re going to need to create a div and a unique ID. This div will enclose all of the body’s content, excluding the body tag itself.
     <body>
       <div id=content><h1>Title</h1>
    
       <h2>Table of Contents</h2>
    
       <ul>
         <li>Item 1</li>
         <li>Item 2</li>
         <li>Item 3</li>
       </ul>
    
       <h2>Item 1</h2>
           <p>This is the content for Item 1. It's not too interesting, but you can make it better!</p>
       <h2>Item 2</h2>
           <p>This is the content for Item 2. It's a little different than Item 1 because we don't want to be redundant.</p>
       <h2>Item 3</h2>
           <p>This is the content for Item 3. I hope you're more creative than me or your website will get boring.</p>
       </div>
     </body>
    
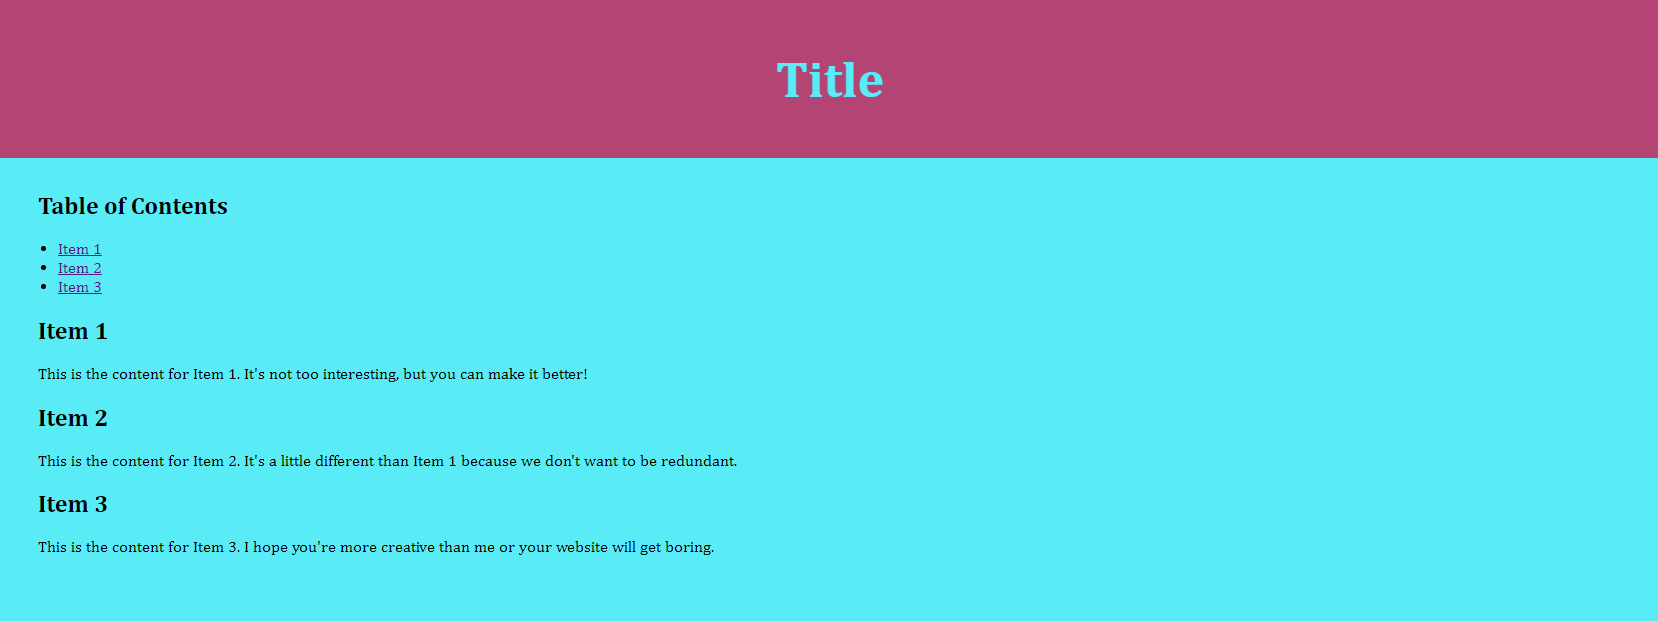
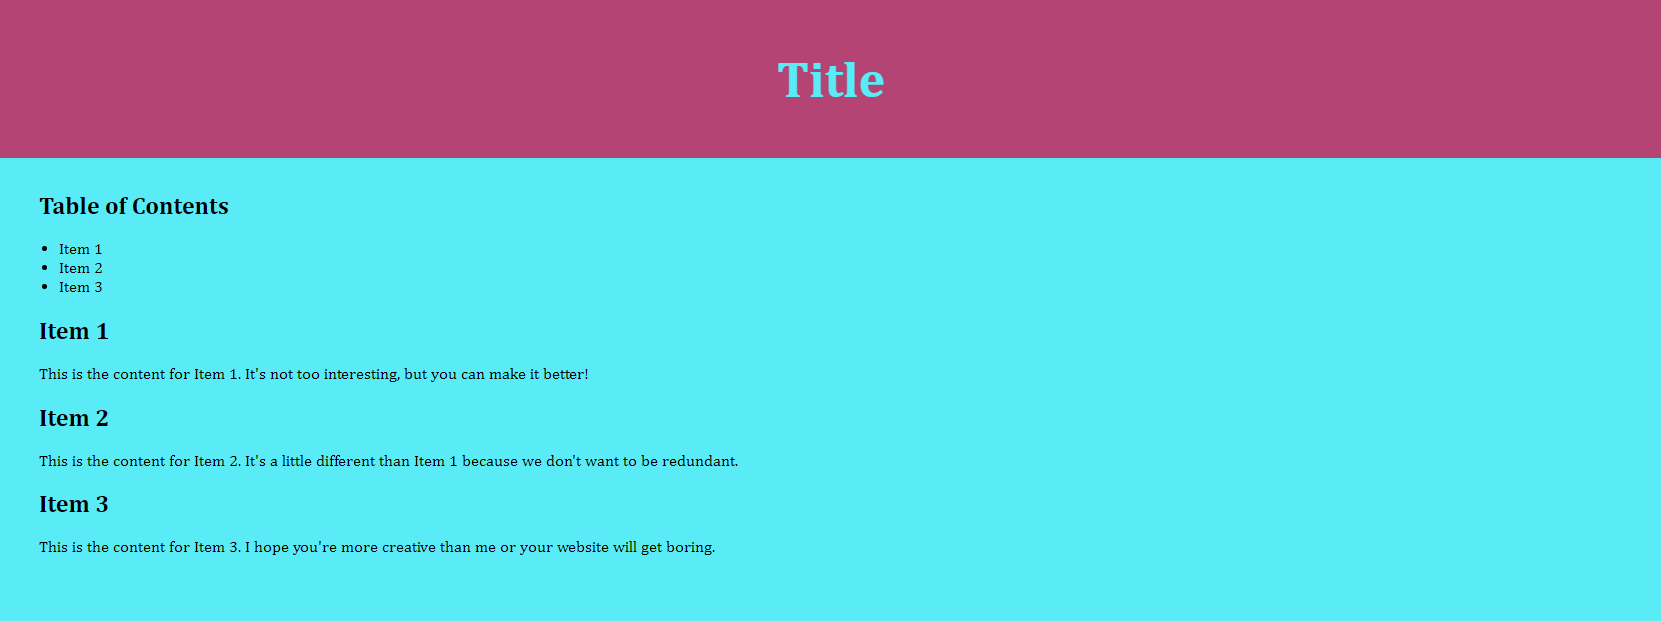
  2. Go back in to the style tag and add the ID. Remember, we have to use # to denote an ID. Here we will add a background color. If you wish, add a little padding to the bottom as well for aesthetic purposes.
     #content {
       background-color:rgb(52, 234, 247);
       padding-bottom: 50px;  
     }
    

    Background Color Change

Conclusion

Further Reading/Resources

Return to Top