This work is licensed under a Creative Commons Attribution-ShareAlike 4.0 International License.
About
Last Updated [09/26/2019]
Created by OSU Maps and Spatial Data
Table of Contents
- Introduction
- [ArcScan]
-
- Getting Started
-
- Georeferencing
-
- Vectorization
-
- Polygons
-
-
- Editing Polygons
-
- Conclusion
- Further Reading/Resources
Introduction
ArcScan allows ArcMap users to turn images into vector-based feature layers through the process of vectorization.
[ArcScan]
Getting Started
- Open ArcMap on your desktop.
- Add a folder connection. Open the Catalog pane, right click Folder Connections and select Connect to Folder.
- Drag and drop the map you would like to vecotrize into the Table of Contents pane.
- Add a basemap. To add a basemap, click the arrow next to the Add Data icon in the toolbar and select Add basemap. Select the desired basemap and click Add.
Note: Topographic is a good basemap choice.
- The map you wish to edit must consist of only two values/colors. (binary raster) (HELP WITH WORDING)
-
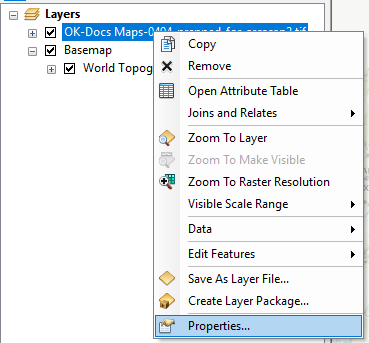
- In the Table of Contents pane, right click the map you wish to edit and select Properties.
-
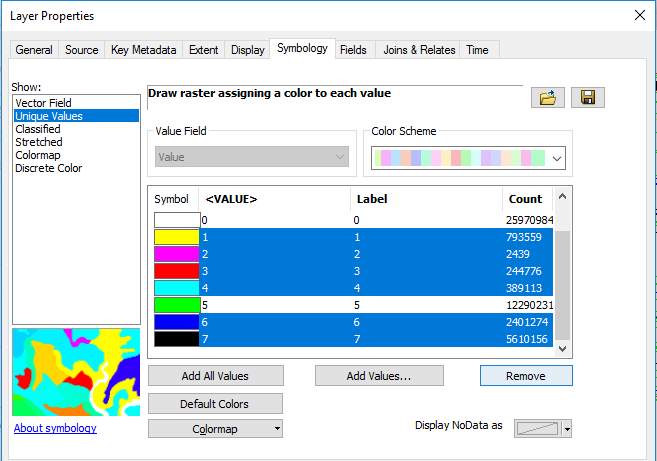
- Go to the Symbology tab and select Unique Values.
-
- Remove all but two of the values by selecting them and clicking Remove. Only two values should remain.
-
- Click Apply.
Georeferencing
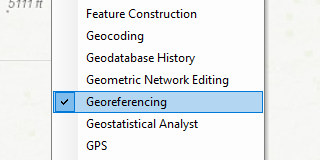
- To start georeferencing in ArcMap, the georeferencing toolbar needs to be opened. Right click in the toolbar and click Georeferencing. A checkmark should appear next to it.
- A georeferncing toolbar should appear and control points can be added.
Note: For more information of georeferencing, visit (instert link here).
- Once all necessary control points have been added, click Update Georeferencing under Georeferencing in the toolbar.
Vectorization
- Before vectorization can begin, make sure ArcScan is turned on. In the toolbar, click Customize then Extensions. Make sure there is a checkmark next to ArcScan.
- Next, right click anywhere in the toolbar and make sure a checkmark is next to ArcScan. If there is not, click ArcScan and a new toolbar should appear.
- Create a shape file.
-
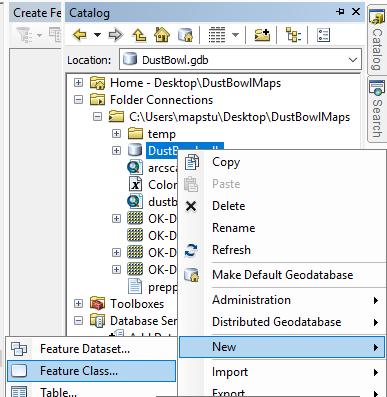
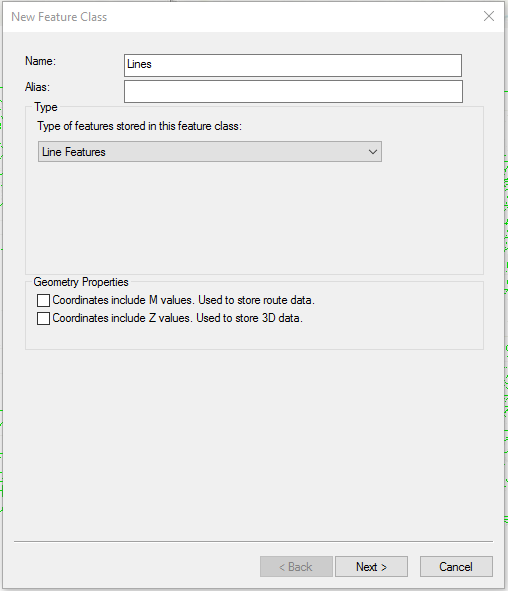
- In Catalog, right click the geodatabase file. Select New and Feature Class.
-
- Name the file and make sure the Type is set to Line Features.
-
- Select the desired coordinate system. Make sure it is the same as the basemap and other data being used.
-
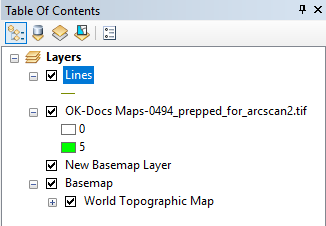
- Once done, select Finish. A new layer should appear in the Table of Contents.
- Start and editing session.
-
- Right click in the toolbar and click Editor. A new toolbar should appear.
-
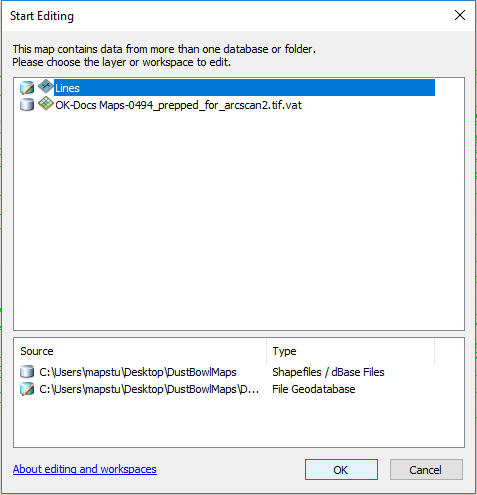
- Under Editor click Start Editing.
-
- Select the polyline layer you created and click OK.
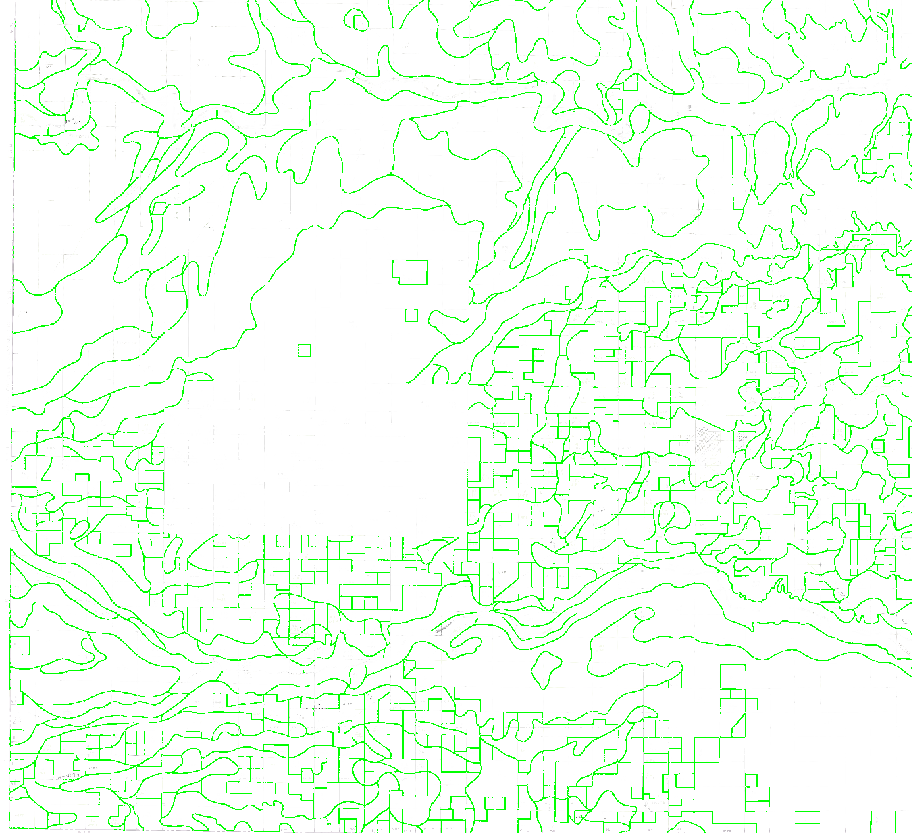
- In the ArcScan toolbar under Vectorization, click Show Preview.
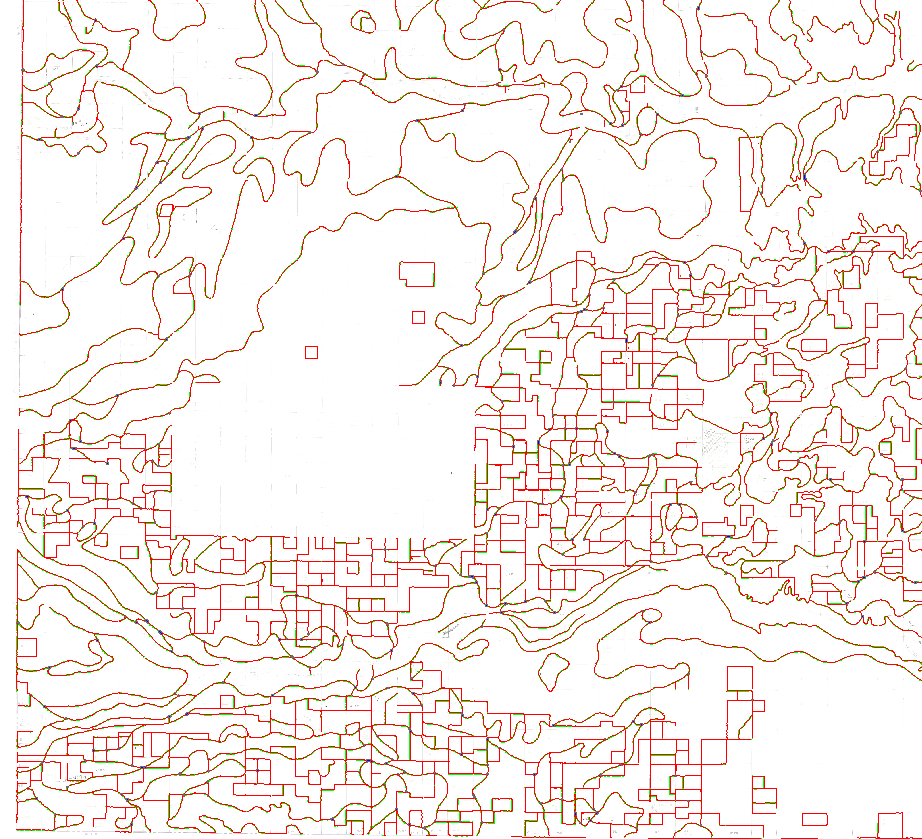
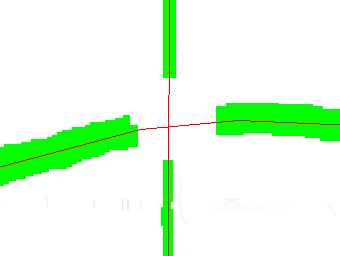
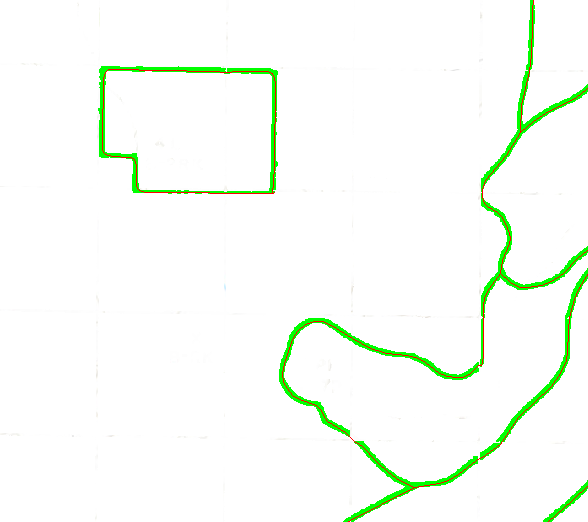
- Compare the previewed vectors to the original raster data.
- If you are happy with the results, under Vectorization select Generate Features.
- If the preview is not satisfactory, the vectors can be edited.
-
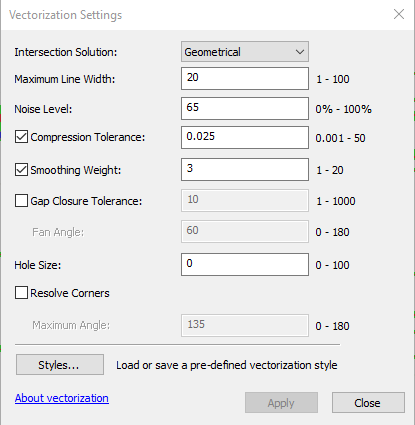
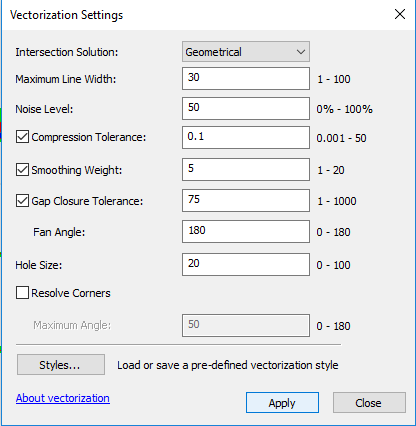
- Under Vectorization, select Vectorization Settings. (HELP! LINK TO SETTING EXPLAINATION?)
-
- A new window should appear. Here, the settings may be adjusted.
-
- When the settings have been adjusted as desired, cick Apply.
- Vectorization Settings Explained
- Adjusting the Maximum Line Width allows you to include or exclude certain features based on how wide the lines are. If you only want to include thin lines, decrease the maximum line width. If you would like to include more lines, increase the maximum line width.
- Compression Tolerance allows you to adjust the angularity of the vectors by incorporating more or less vertices. The more vertices that are featured, the less angular the vectors will be. Reducing the number of vertices will likely result in a deviation from the original shape.
- By adjusting the Smoothing Weight you can generate features that are more or less smooth than the original features. Increasing the smoothing weight may result in a deviation from the original shape.
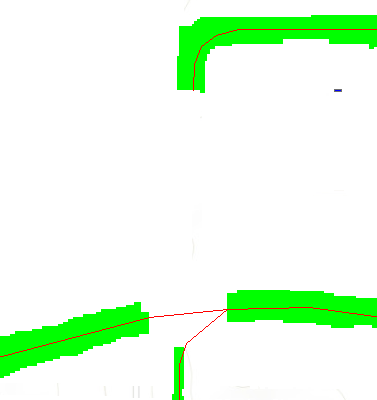
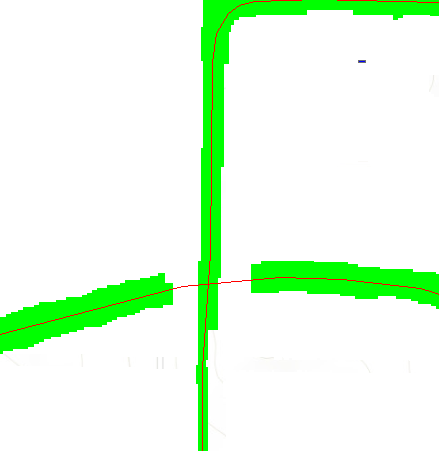
- The Gap Closure Tolerance setting can be used to close unwanted gaps. Oftentimes, when a raster contains gaps, the previewed vector will also contain gaps. By increasing the tolerance, these gaps can be closed if desired.
- To increase the accuracy of the gap closure tolerance, the Fan Angle setting can be adjusted. The fan angle determines where gaps are that can be closed, which is especially useful when the raster you are working with is curved.
- Holes can be ignored by adjusting the Hole setting. If a small hole appears, you can choose to ignore it and the vector will cross over it instead of going around it.
- Resolve Corners can be used to determine how angular or rounded the vector’s corners are.
- For more details on the different vectorization settings, click About vectorization at the bottom of the Vectorization Settings window.
- You may now generate the features, or continue editing with Raster Cleanup.
-
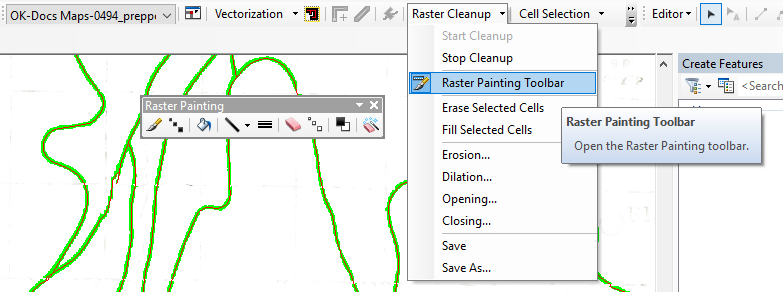
- Under Raster Cleanup, click Start Cleanup.
-
- Open the Raster Painting Toolbar.
-
- There are a variety of tools that can be used to edit the vectors before they are generated.
- Erase
- To erase a feature, simply click the eraser icon on the toolbar.
- Click and drag the mouse over the feature you wish to erase.
- Magic Erase
- Click on the magic eraser icon


